When to Use Iron Remover in Auto Detailing
Learn where iron remover fits in a car detailing routine, when it is useful, and how to decide whether clay or polishing is needed next.
Iron remover has a specific job in auto detailing: dissolve bonded iron fallout that ordinary shampoo cannot lift. It can be useful before claying, polishing, or applying a coating, but it is not a substitute for a wash or an automatic step on every vehicle.
This guide helps you decide when to use it. For application and safety instructions, read our iron remover for car paint guide.
What iron fallout looks and feels like
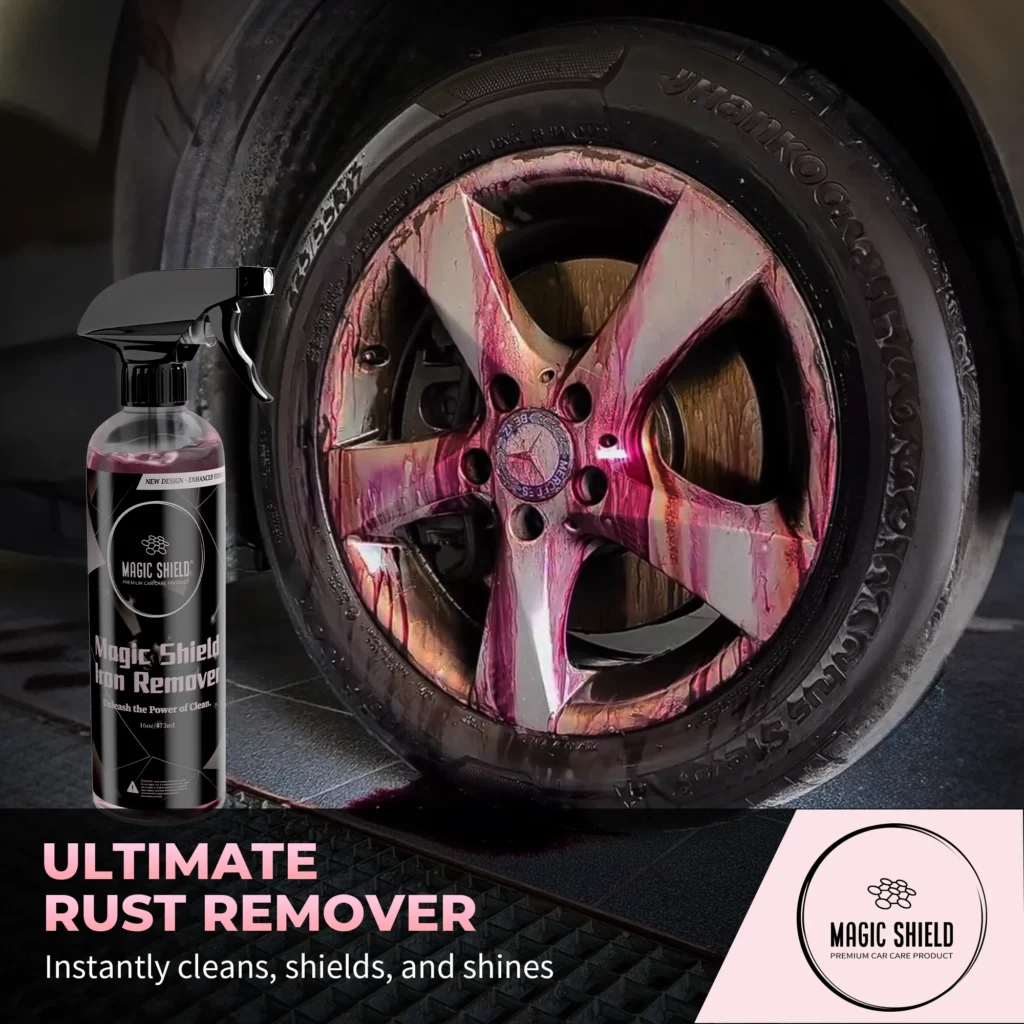
Brake dust and airborne metal particles can settle on paint and wheels. On a light-colored car you may see tiny orange-brown specks. On any color, contamination may show up as a gritty feel after a thorough wash. A rough surface can also come from tar, overspray, or other bonded debris, so iron remover is most useful when iron contamination is likely or visible.
Inspect the lower doors, rear bumper, wheel faces, and areas near brakes. Always work on a clean surface and test an inconspicuous spot if the finish or coating is unfamiliar.
Where iron remover fits in the process
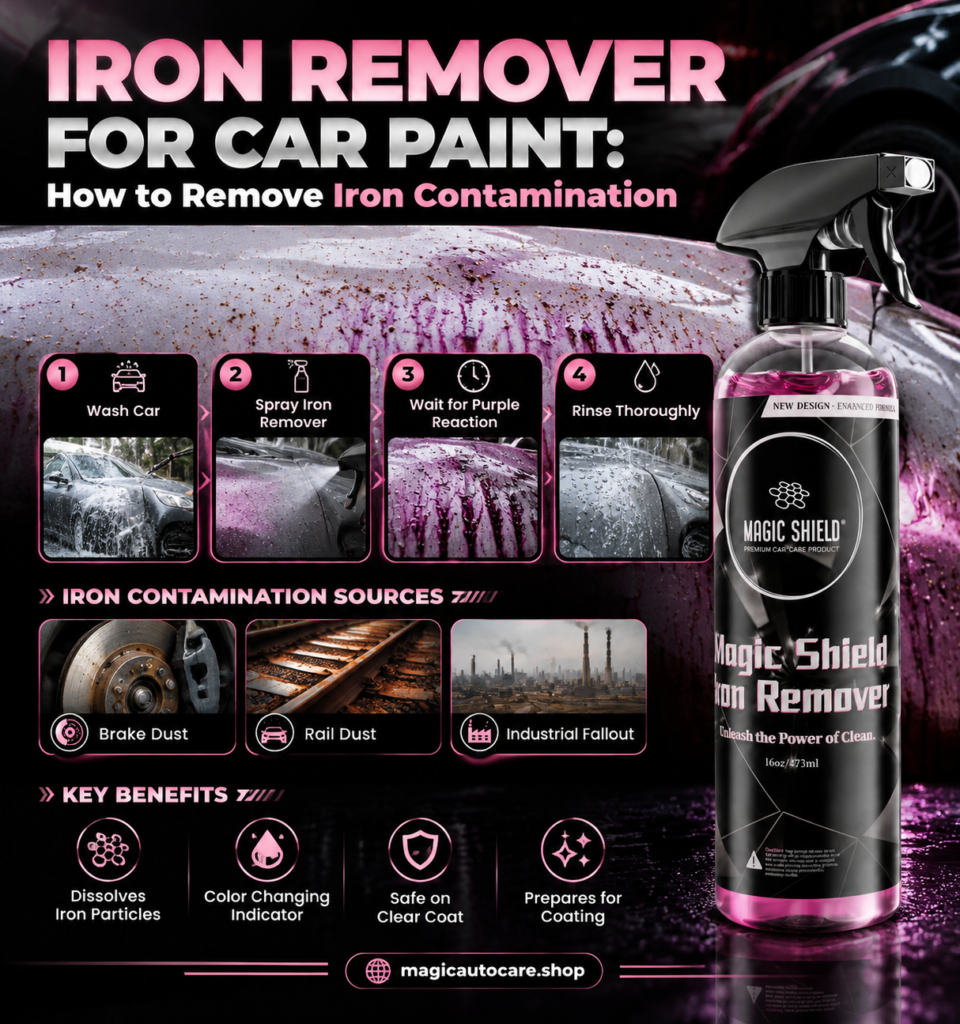
- Wash first. Remove loose grit and road film so the chemical reaches bonded contamination without rubbing dirt across the paint.
- Use iron remover when needed. Apply a product approved for the surface, follow its label for dwell time, never allow it to dry, and rinse thoroughly.
- Recheck the surface. If it is still rough, determine whether clay is appropriate. Use dedicated clay lubricant and gentle pressure.
- Correct and protect. Polish only if the paint needs correction. Before applying a compatible coating, complete the final wipe-down and follow that coating’s preparation directions.
Our paint preparation guide explains the full wash-to-coat sequence and shows the products used at each stage.
Iron remover or clay bar?
These tools solve different problems. Iron remover targets ferrous particles through a chemical reaction without requiring mechanical rubbing. Clay can lift other bonded surface contamination, but it can also mar paint, especially when used with too little lubricant or too much pressure. A sensible order is wash, iron treatment if needed, then a gentle clay check only if the paint remains rough.
Neither tool removes scratches or replaces polishing. If the finish already feels smooth after washing, there may be no reason to clay it. If orange specks remain after treatment, inspect the area before repeating the process; some marks are staining or damage rather than removable fallout.
How often should you use it?
Use condition and exposure as your guide. A car that spends time near rail lines, industrial fallout, or heavy traffic may collect more iron. Wheels can accumulate brake dust faster than painted panels. Check after washing; if the surface is smooth and clean, skip the chemical step. Repeated treatment without a reason wastes product and adds work.
Common mistakes
- Using it on a hot panel or in direct sun: the product can dry before you rinse. Work in shade on a cool surface.
- Ignoring the label: surface compatibility and dwell time vary by formula. Follow the exact product directions.
- Assuming purple color proves complete removal: color change may indicate a reaction, but inspect and rinse the surface rather than relying on color alone.
- Claying immediately after an incomplete rinse: remove the chemical fully before moving to another step.
- Applying a coating over leftover residue: complete the final prep wipe according to the coating instructions.
Choosing the next step
If the car only needs a maintenance wash, wash and protect it. If bonded iron is present, a product such as Magic Shield Iron Remover can be part of the preparation process when its label permits use on the intended surface. If the paint still feels rough afterward, compare the clay bar kit and follow its lubrication instructions. For the safest application details, continue with the step-by-step iron remover guide.